VisualSVN Server Setup on Windows
VisualSVN Server:
VisualSVN Server is a freeware Apache Subversion server package for Windows. The package is designed and implemented to provide Subversion version control as a first class citizen application in an Active Directory environment.
Make data easy with Helical Insight.
Helical Insight is the world’s best open source business intelligence tool.
System Requirements:
1. Operating Systems Supported.
- Windows Server 2008 or later
- Windows Vista or later
2. Minimum Hardware Requirements
- 1.4 GHz CPU
- 512 MB RAM
- 50 MB hard drive space
VisualSVN Server (V3) Setup:
Download the svn server from here http://www.visualsvn.com/server/download/ and select the appropriate setup file depends upon the type of host system (32 bit or 64 bit).
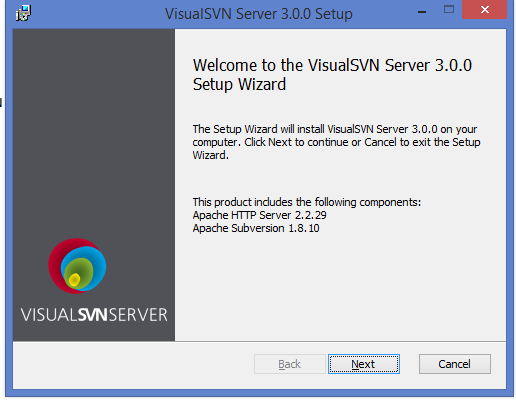
1. Launch Setup:
Go to the VisualSVN server file download location and double click on the setup file will initiate the installation process.
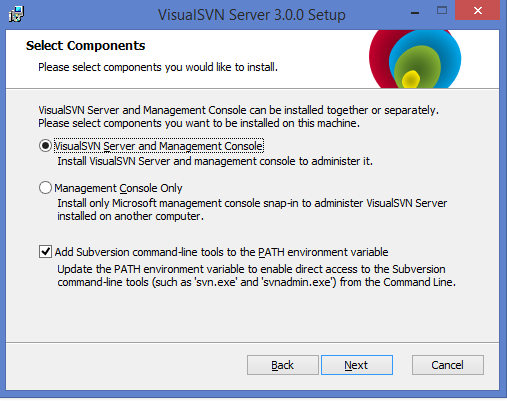
2. Select Components:
Visual SVN Server and Management console can be installed together or separately.
Please select the components that you want to be installed on host system.
- VisualSVN Server and Management Console
- Management Console only
From the above two options select the VisualSVN server and Management console to administer it.
3. VisualSVN Server Editions:
VisualSVN Server available in two different types of flavors like below.
- Standard Edition
- Enterprise Edition
From the above two options select the standard edition because it is open source and fully functional server for individuals and small groups.

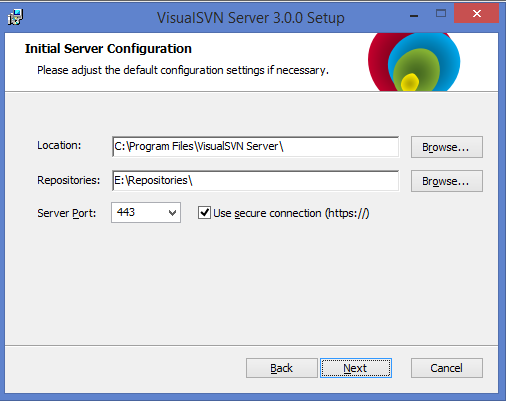
4. Server Configuration:
Configure the following details as shown below.
- Location:
Browse to the location path in which you want to install visual svn server on your system.
Ex: C:\Program Files\VisualSVN Server
- Repositories:
Select the appropriate location to store your project related data on a specific directory called as
- Server Port:
Select the appropriate port number from the drop down list but by default VisualSVN server will point to the port number 443.If any of your programs is already using this port number then choose a different one from the available drop down list.
If the default port number 443 is already used by some other service then you will get a following exception.

Select the different port number (i.e. 8443) from the drop down because the default port number 443 is allocated to Tortoise SVN which is already installed in my system.

Click on next button will initiate the setup process and open a window VisualSVN Server Manager likes below.

Now the VisualSVN server is successfully installed on your system.
Repository Setup:
Follow below steps to create a new repository.
- Right-click on Repositories in the main window of VisualSVN.
- Click Create new repository…
- Name the repository newly created, for example: <repotedi>.

Click on the next button will pop-up a new window like below and choose the repository type.
4. Repository Type:
Below are the list of repository types.
- Regular FCFS Repository
- Distributed VDFS Repository
Select the Regular FCFS Repository from the above two options.
5. Create a new SVN User:
Create a new user like below and give a secured password with the combination of numbers and letters.
Make data easy with Helical Insight.
Helical Insight is the world’s best open source business intelligence tool.

6. Repository Access Permissions:
Select the appropriate permissions according to your requirement as shown like below.

7. Repository Structure:
Select the appropriate repository structure as show like below.

After following all the above sub sequent steps repository will create successfully and shown a window like below.

Click on Finish will complete the repository creation setup.
If you are looking for Talend related stuff then you can follow my previous posts on Talend Enterprise Studio for DI installation using Installer and Talend Administration Center Configuration
Thanks,
Sayagoud Ravelly

Best Open Source Business Intelligence Software Helical Insight is Here
It’s FSFS, not FCFS.